This post is part of a series of posts. Please use the links below to navigate through the related posts:
- Macro Templates Introduction
- Deployment
- Dataverse Tables
- Custom Page Dialog
- Power Automate Flow
- Javascripts
- Template File
- Final Notes
- Git Sources
You will find a sample template file in the git repo:

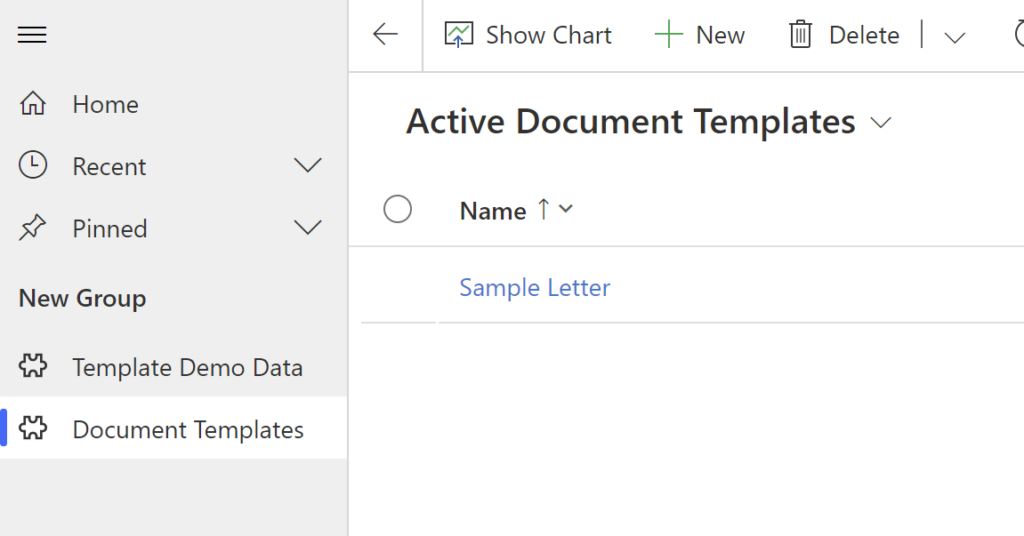
It’s a sample, you can create your own, and there can be multiple templates. Ultimately, they all need to be added to the Document Template table:

I am not an expert in creating word templates, I just know the basics, so here is how it goes:
- Open Word first
- Open that sample template file
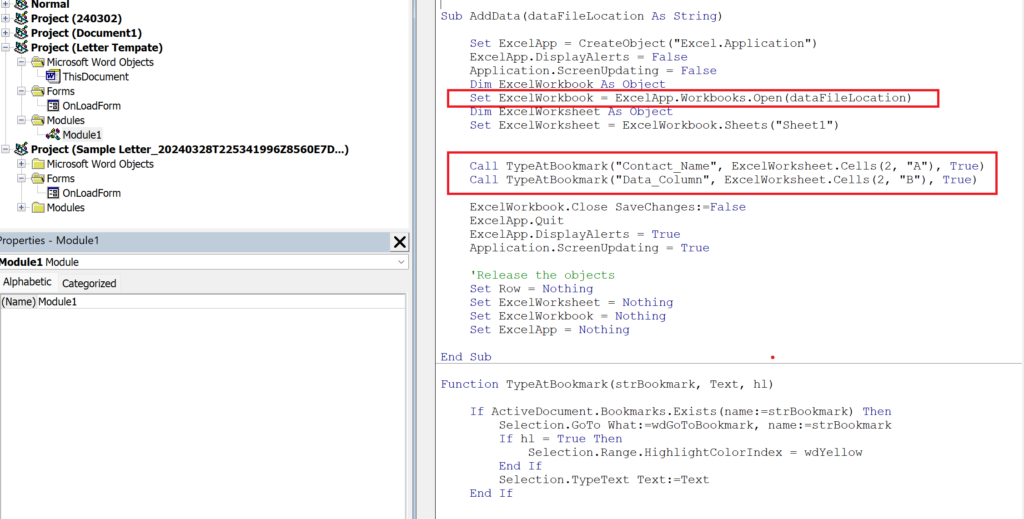
- Add “Developer” tab to the ribbon and use “Visual Basic” button to open VBA code
You’ll see how this sample template works.
First, it opens a popup form in the onload. Is it needed? Not really, but you can user that form to add checkboxes, to ask user for some additional selections, etc.

In the onload form, the macro parses template file name to get “data file id” from the file name:

When the file is downloaded, it’s named like this: <template name>_<generatedid>.dotm

That generated id part corresponds to the name of the excel spreadsheet that is added to Sharepoint by the Power Automate flow. So, now that the macro knows the name of that spreadsheet (after parsing the name of the downloaded template file), it can connect to Sharepoint to read data from that spreadsheet and to use that data to update the document:

What else can you do in the macro? As I mentioned, I am not an expert, the whole benefit of this solution for our dev team was that the business team had an expect on their side, so they could take care of creating the actual templates, but, in reality, you can do lots of things with the macro. You can change formatting, add tables, add highlighting etc etc.