In the first part, we talked about setting up the following:
- Power Pages site
- Azure B2C identify provider
- Additional ITAPortalAddon solution
What’s still remaining is to configure the docker components to make the traffic flow to the portal through the external domain.
Let’s get to it then.
First, you’ll need docker somewhere. In my case, I have a Windows desktop with WSL2 and Docker desktop (yes, don’t try installing docker on Ubuntu directly – get Docker desktop and let it do the work for you. Unless you definitely know what you are doing, then just ignore this note and do it your way).
With docker in place, clone the git repo: https://github.com/ashlega/ITAPowerPlatformExtensions/tree/main/ProxiedPortal
Rename .env.example to .env and oauth2-proxy.cfg.example to oauth2-proxy.cfg
Both files have comments in them, so just follow the comments.
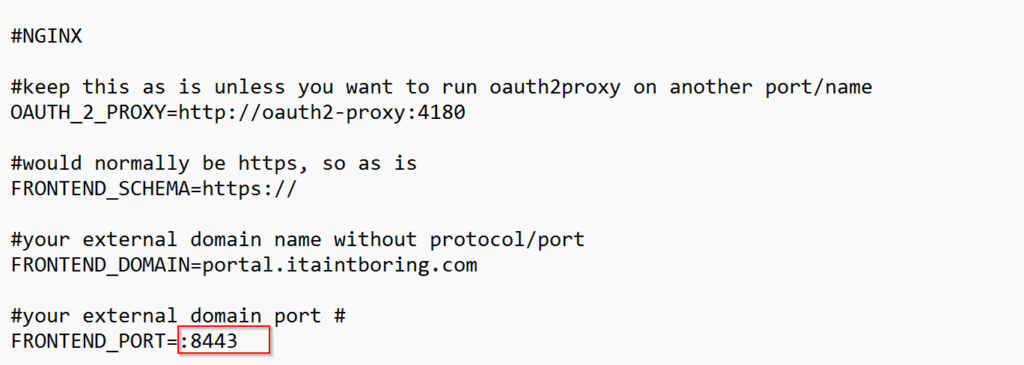
With the FRONTEND_PORT variables in the .env file, you only need it if you want to use non-standard https port:
If you do decide to run this on the standard 443 port, set that variable to empty value, and, also, update port mapping in the docker-compose.yml so it’s 443 to 443 instead of 8443 to 443:

Also, in the oauth2-proxy.cfg, pay attention to the “scope” line:

You’ll need to use the scope added to Azure B2C in the first part (and keep openid as well).
Ok, hopefully you’ve managed to get through all of this. Now just run the docker:

And give it a try by typing in your “external portal url” into the browser address bar. It should open up without exposing the actual address of your power pages portal:
